This guide should help you fit an aftermarket double DIN head unit with an appropriate fitting kit for the 2007-2011 Mk1 Toyota Auris.
I bought a Connects2 fitting kit from Dynamic Sounds on eBay (CTKTY22 Double Din Fascia Stalk Adaptor Kit Silver for Toyota Auris 2007-2012). The Kit does come with all the bits, including the electronics to retain the steering wheel controls, but was £99!.
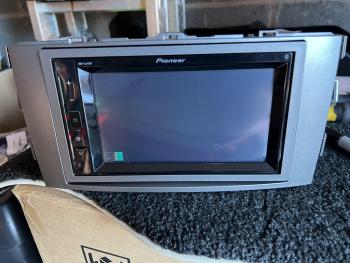
The headunit I bought was a Pioneer DMH-A240BT USB BT Media Player 6.2" Touchscreen, with phone mirror and phone kit. Not bad, but not apple play level, but £110 as a returb, again off eBay.
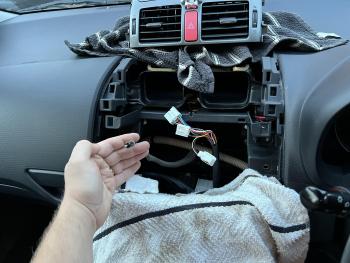
First challenge I had was getting the fascia bits off, there’s a guide on here for that somewhere, start at the gearstick surround and then work on pulling out the strips up either side of the old head unit and then you have 4 recessed bolts to remove, 2 either side. The vent above it needs to be carefully unclipped and moved out the way as well.
Once the bolts are out, the old head unit should come out, but watch the clips either side of it pinging off.
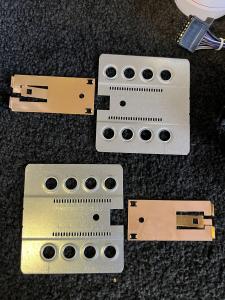
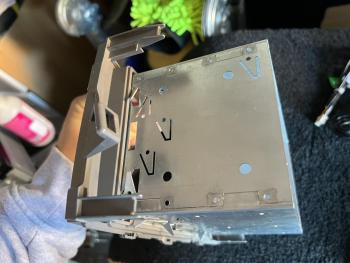
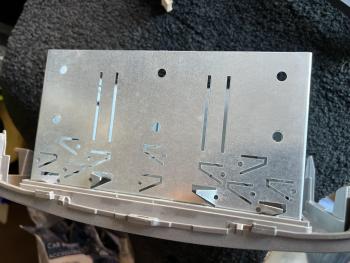
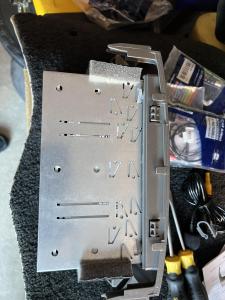
So in the connects2 kit, you should have a replacement plastic fascia for the Auris and a metal cage, along with some brackets and foam stickers.
The first puzzling bit for me was how to attach the supplied brackets. I contacted the seller (who was quite helpful) and they sent me to this link, which may help you too:
https://advice-centre.dynamicsounds.co.uk/ufaqs/mount-brackets-double-din-stereo/
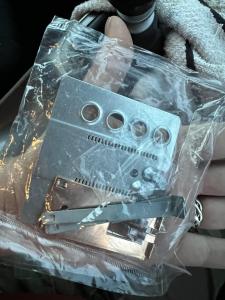
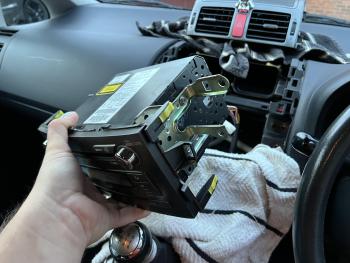
The depth you choose might need altering depending on how long your head unit is, but I found these worked just fine for me so you may have to experiment a bit with this. You basically need to bolt the brackets onto the side of the head unit, with the brass retaining clips set so that they will hold the unit in place, once it’s slid into the cage supplied in the kit.
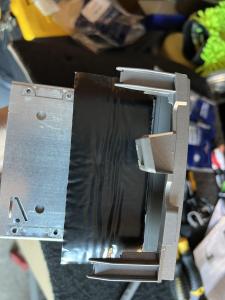
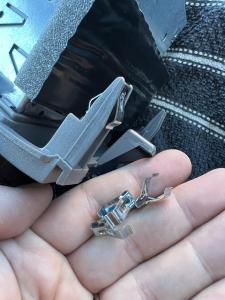
Before sliding it in permanently, ensure you have bent some of the pins of the cage to hold it firmly in place around the fascia included in the kit (see pics).
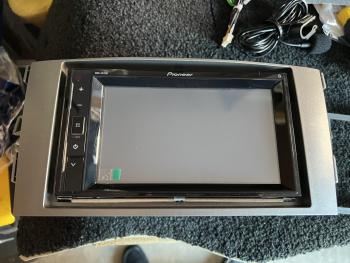
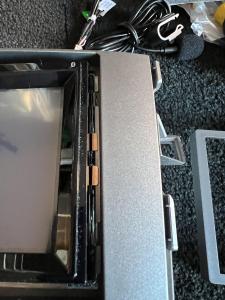
Then slide your head unit in with its brackets attached till it clicks in place and clip the front part of the fascia onto that and you are nearly done for that part. I also stuck the foam stickers on the side of the cage here (see stickers) to pad it out once it was installed and stop any rattles. Not sure if that’s what they are for, but seemed a good fit.
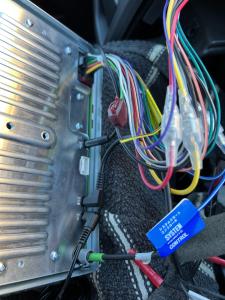
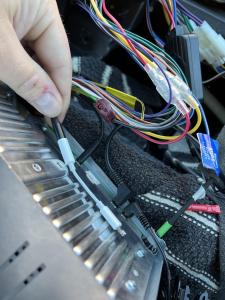
Onto the wiring side, it should generally be reasonably obvious what goes where as they are different shaped connectors. The bit I also had a minor problem with was for the remote controls there are two different types but also I needed to open one of the other supplied cable packets for the lead to connect to the control box to the car wiring, as the remote settings didn’t work for me at first when I hooked it up to test it.
This pioneer unit also had a 3.5mm standard audio AUX Jack on the back of it, so I took the opportunity of plugging in a 3.5mm Jack lead (same at both ends) into it and routed that to the glovebox, in case I ever wanted to plug in another audio device or something later on (see pic with lead attached and iPhone lightning adapter).
Don’t forget the round aerial lead as well (if you want the radio to work) and I also plugged in the supplied microphone for the hands free kit.
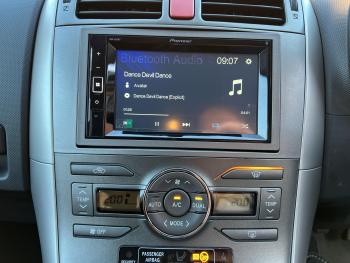
Put the 4 supplied metal clips on the replacement fascia and then clicked it home, and refitted the vents that were above it and the two side fascia bits and then that’s all good.
NOTE: My top tip here would be plug your unit in and fully test it out that all the features work BEFORE you clip it all in place and put the fascia’s back!.
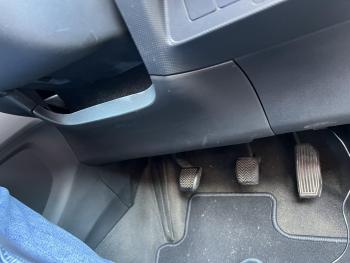
For the phone microphone I ran it to the right of the hole through and under the steering column surround and off to the plastic side panel near the bonnet release (taping it up behind there with gaffer tape so it doesn’t fall down) and then up behind the door weather strip and up the A pillar and behind the weather strip there finally up to the sunblind (note the cable was still loose when I took the pic)


