Having use USB memory sticks on my Mk1 Avensis with Sony, CD changer and Connects2 for many years, I wanted the same on my T27.
My original post: http://www.toyotaownersclub.com/forums/topic/169513-added-usbbluetooth-adaptor-to-w53828-in-avensis-mk3/
I choose the LaPower Adapter as it had the additional Bluetooth A2DP, at a cheaper cost than the usual Connects2 and Xcarlink, plus the supplier is UK based.
The USB/Bluetooth kit 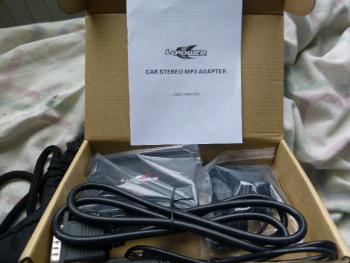 .
.
The trim removal kit 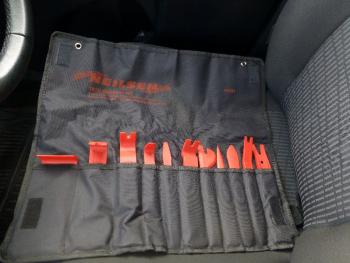
The first is to look at the many guides for the radio removal on the internet. http://www.handsfree.lt/index.php?route=product/download/download&download_id=13
Remove the glovebox.
With the trim removal tool I obtain from eBay I carefully worked on the top vent.
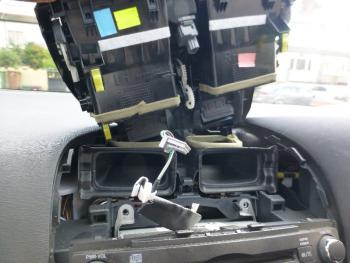 then the passenger side trim near the heater controls.
Then remove the surround to access the lower screws securing the stereo 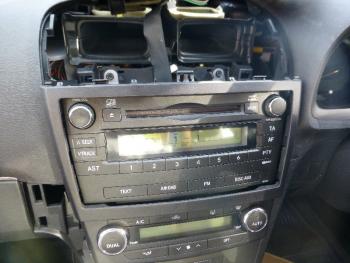 .
.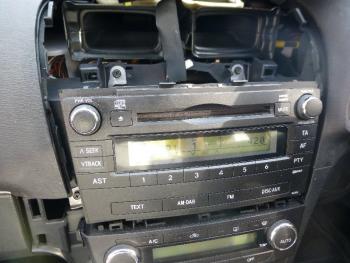 . Remove the four screws to access the rear of the stereo. Pull the stereo forward and slightly to the left to pass the right trim, which is only loosened and not removed.
Looking at the rear the Cd changer socket 12 pin (6+6) should be empty 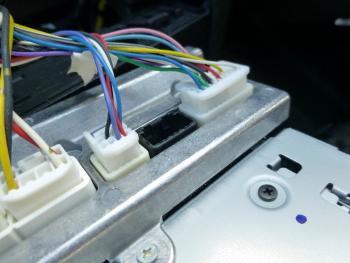 .
.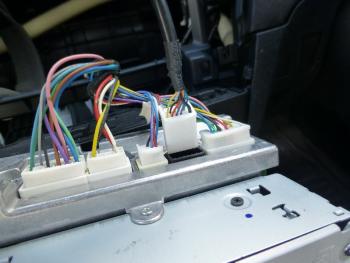 Route the cable for the adapter from the glove box area, as close to the firewall as possible, behind the vertical reinforce bar and insert into the CD changer socket.
At this point, reposition the stereo and connect the adapter to the cable. Get a memory stick with music and test the system. I used mine from my other system and they all worked fine. Better to find out now than later after putting the car back together.
I decided to leave the adapter in the glovebox for now 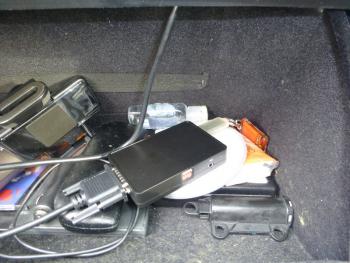 but may make changes.
Next was to install the microphone 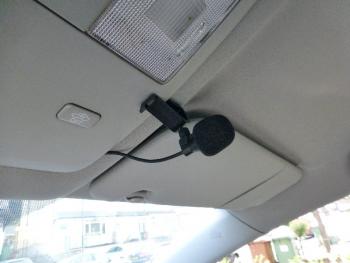 and carefully rand the cable along the front of the roof lining, tucking along the front of the A pillar close to the windscreen - this avoids interfering with the curtain airbag!
Everything was put back and the sound quality is very good and clear. Most of the functions can be operated by the steering wheel controls. I have two mobiles and the second is connected to the adapters Bluetooth. Calls can be taken or rejected by the steering wheel Next or Previous buttons. The other phone is connected to the cars Bluetooth.
I may get an USB/Aux extension cable and mount in a blank hole in the dashboard 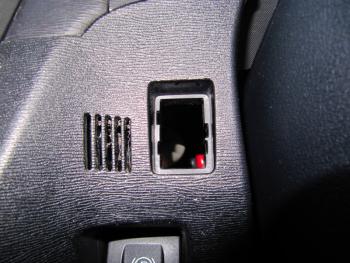
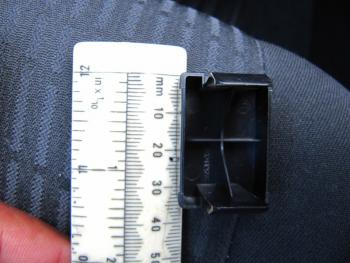 measure the blanking plate and compared to measurements of the two I found. They both measure the same 33mm x 21/22mm
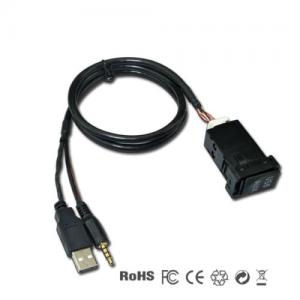
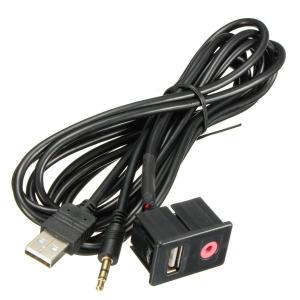
The first costs £11.80 http://www.ebay.co.uk/itm/121504852123?_trksid=p2055119.m1438.l2649&ssPageName=STRK%3AMEBIDX%3AIT
The second £5.88 http://www.ebay.co.uk/itm/391206888063?_trksid=p2055119.m1438.l2649&ssPageName=STRK%3AMEBIDX%3AIT
The first looks better built and seems to match the hole, whilst the second looks cheaply made and may need more work to keep in place.
If I go ahead, there will be an update.
I bought the more expensive USB/AUX dashboard extension cable because it looked a better fit, and I was correct.
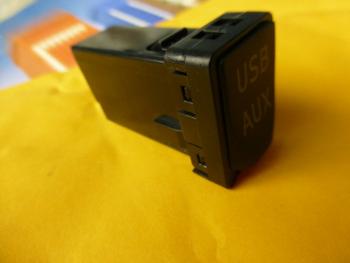
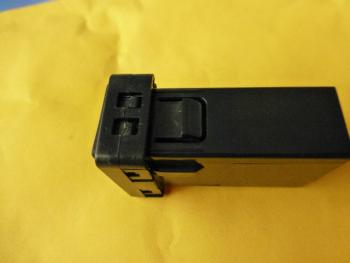 The socket without the cable attached.
The blank socket I chose was close to the steering wheel 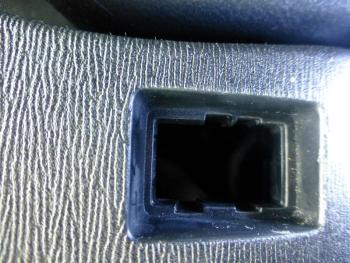
A notch had to be cut out on upper right side of the hole, using a craft knife. A slight adjustment was done on another notch and the socket now fits perfectly. The dashboard material is soft and easy to work on.
After routing the cable, repositioning the adapter to the space behind the heater on the passenger side freed up the glove box. If the adapter needs resetting, removing the glove box gives quick access.
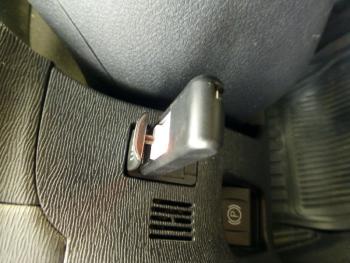 The USB/AUX socket in position. It looks a lot better now, but I may move it to the storage compartment between the seat replacing the original socket
  .
.
This will need a lot more work and I could not remove the reverse collar on the gear stick. I don't want to break that!
The system works well and I will not be using the microSD socket on the adapter, only USB memory sticks. The adapter can only use one or the other, so it is not an issue.
The total integration is very good and the only minor gripe which is for every USB adapter, is the lack of artist/title display. I don't really look at what artist is playing, since I put the music on the USB stick!
Unfortunately iPhone and iPod are not supported through the USB cable, but I don't own or use Apple products.
A cheap upgrade.
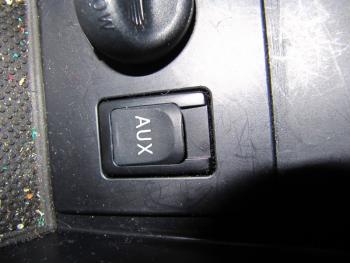
I have changed the position of the USB/AUX dashboard extension, to the centre storage box. This replaces the AUX only socket which is not needed. 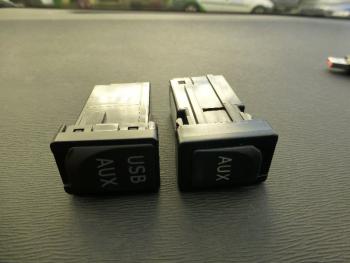
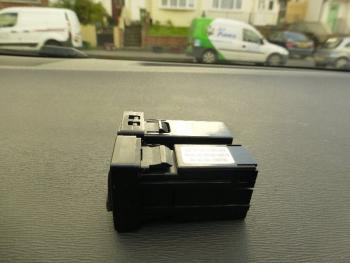
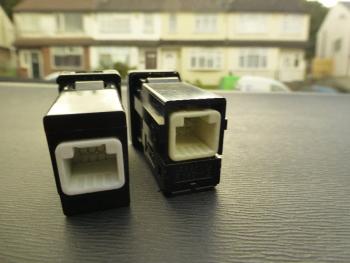 As you can see, both sockets look identical and the fitting notches are in the same location.
The later Avensis has the USB/AUX in the same position in the centre storage box 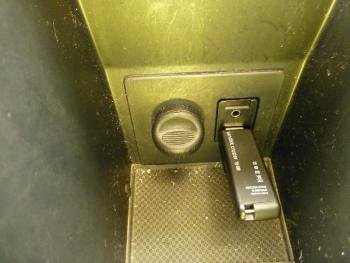 .
.
Removing the centre console covers is fair simple.
First the covers between the dashboard and the console 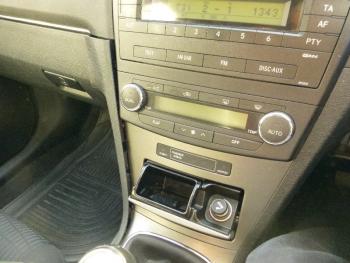
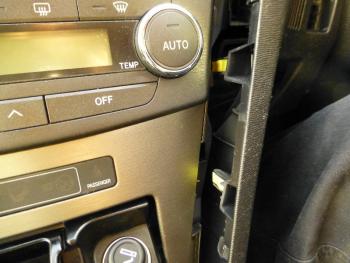 and the console surround trim
 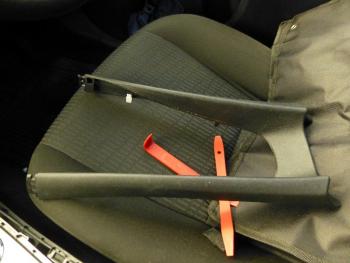 . Remove the lower console trim in the footwell on both sides.
Then the gear lever console trim. Press on the gear lever cover surround to separate it from the trim and using a suitable lever lift the trim. 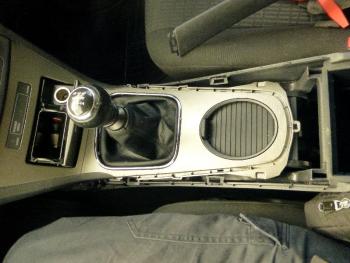
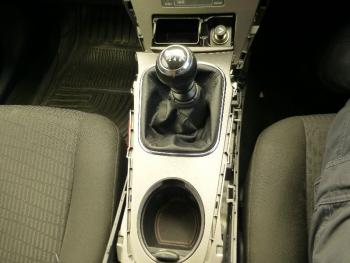
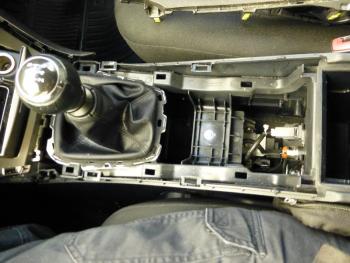 .
.
Also remove the ashtray and lighter panel to re-route the adapter cable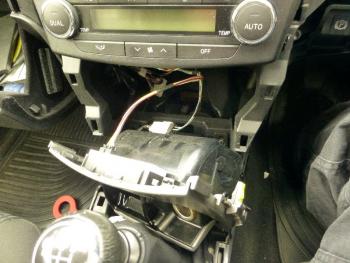 .
.
Now with the access you can unplug the AUX socket and remove it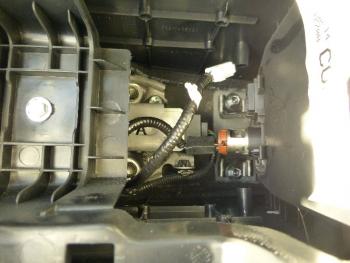
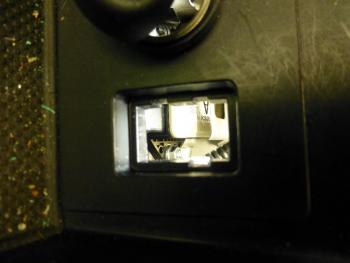
Install the AUX/USB socket and route the wire from the adapter carefully to the socket.
Refit all panels in reverse order.
Job done.

